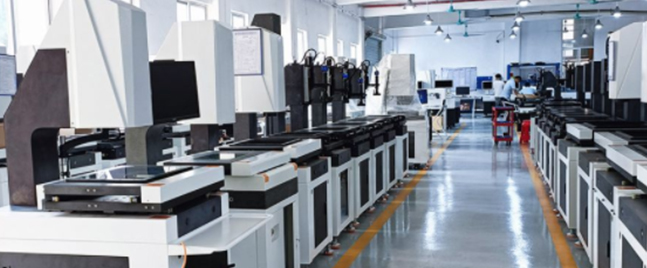
VMS, also known as Video Measurement System, is used to measure the dimensions of products and molds. The measurement elements include positional accuracy, concentricity, straightness, profile, roundness, and dimensions related to reference standards. Below, we’ll share the method of measuring workpiece height and measurement errors using automatic video measurement machines.

Methods for measuring workpiece height with automatic video measurement machines:
Contact probe height measurement: Mount a probe on the Z-axis to measure the height of the workpiece using a contact probe (however, this method requires adding a probe function module in the 2d image measuring instrument software). The measurement error can be controlled within 5um.
Non-contact laser height measurement: Install a laser on the Z-axis to measure the height of the workpiece using non-contact laser measurement (this method also requires adding a laser function module in the 2d image measuring instrument software). The measurement error can be controlled within 5ums.
Image-based height measurement method: Add a height measurement module in the VMM software, adjust the focus to clarify one plane, then find another plane, and the difference between the two planes is the height to be measured. The system error can be controlled within 6um.
Measurement errors of automatic video measurement machines:
Principle errors:
Principle errors of video measurement machines include errors caused by CCD camera distortion and errors caused by different measurement methods. Due to factors such as camera manufacturing and processes, there are errors in the refraction of incident light passing through various lenses and errors in the position of CCD dot matrix, resulting in various types of geometric distortion in the optical system.
Different image processing techniques bring recognition and quantization errors. Edge extraction is important in image processing, as it reflects the contour of objects or the boundary between different surfaces of objects in the image.
Different edge extraction methods in digital image processing can cause significant variations in the same measured edge position, thereby affecting the measurement results. Therefore, the image processing algorithm has a significant impact on the measurement accuracy of the instrument, which is a focal point of concern in image measurement.
Manufacturing errors:
Manufacturing errors of video measurement machines include errors generated by guiding mechanisms and installation errors. The main error generated by the guiding mechanism for video measurement machines is the linear motion positioning error of the mechanism.
Video measurement machines are orthogonal coordinate measuring instruments with three mutually perpendicular axes (X, Y, Z). High-quality motion guiding mechanisms can reduce the influence of such errors. If the leveling performance of the measurement platform and the installation of the CCD camera are excellent, and their angles are within the specified range, this error is very small.
Operational errors:
Operational errors of video measurement machines include errors caused by changes in measurement environment and conditions (such as temperature changes, voltage fluctuations, changes in lighting conditions, mechanism wear, etc.), as well as dynamic errors.
Temperature changes cause dimensional, shape, positional relationship changes, and changes in important characteristic parameters of the components of video measurement machines, thereby affecting the accuracy of the instrument.
Changes in voltage and lighting conditions will affect the brightness of the upper and lower light sources of the video measurement machine, resulting in uneven system illumination and causing errors in edge extraction due to shadows left on the edges of captured images. Wear causes dimensional, shape, and positional errors in the parts of the video measurement machine, increases clearances, and reduces the stability of the instrument’s working accuracy. Therefore, improving measurement operating conditions can effectively reduce the impact of such errors.
Post time: Apr-08-2024


